In this guide, I show you how to choose who to pitch, how to find the right contact information, and how to craft a winning pitch.
PITCHING TO BRANDS AND IS THE BEST WAY TO GET YOUR IDEAL CLIENTS, AND YOU CAN DO IT WITHOUT FEELING ICKY
Gimme the Guide!
11 FOOD PHOTOGRAPHY DOCUMENTS EXPLAINED
Top Posts
11 PLACES TO SOURCE AFFORDABLE PHOTOGRAPHY PROPS AND BACKDROPS
30+ FOOD STYLING TIPS TO ELEVATE YOUR FOOD PHOTOGRAPHY
Free Resource
About Frenchly
I am a food + product photographer & educator specializing in eco-friendly and sustainable brands. When I am not working with clients, I empower creatives to start their journey by sharing my knowledge on the business of food + product photography.
4 Client Templates That Will Change Your Photography Business Forever
February 2, 2021
Blog Post updated in September 2023
When I started my food photography business, I used to write everything from scratch. Like, every inquiry reply, every proposal or every onboarding email. {and I see you doing it too!} Do you realize how much time you are wasting doing that?
I did that because I wanted every client to feel special, to get a personal touch from me. But I would take forever crafting a very personal proposal, only to send it too late and miss the opportunity.
Do you know what makes a client feel even more special than receiving only communications you created from scratch? Receiving proposals, onboarding documents, and instructions in a timely manner. Being able to trust that the photographer will meet the deadlines. That he will stay on top of the project and deliver amazing images by the time they are needed.
If you can deliver those documents and instructions in a beautiful and efficient manner, well that’s just the cherry on top of the cake…
If you haven’t worked with client templates before, you’ll be amazed at how they speed up your workflow and elevate your photography business. There’s a small time investment on the front end as you create the templates, and then you never have to start from scratch again! I use the free online platform Canva to design and update all my templates.
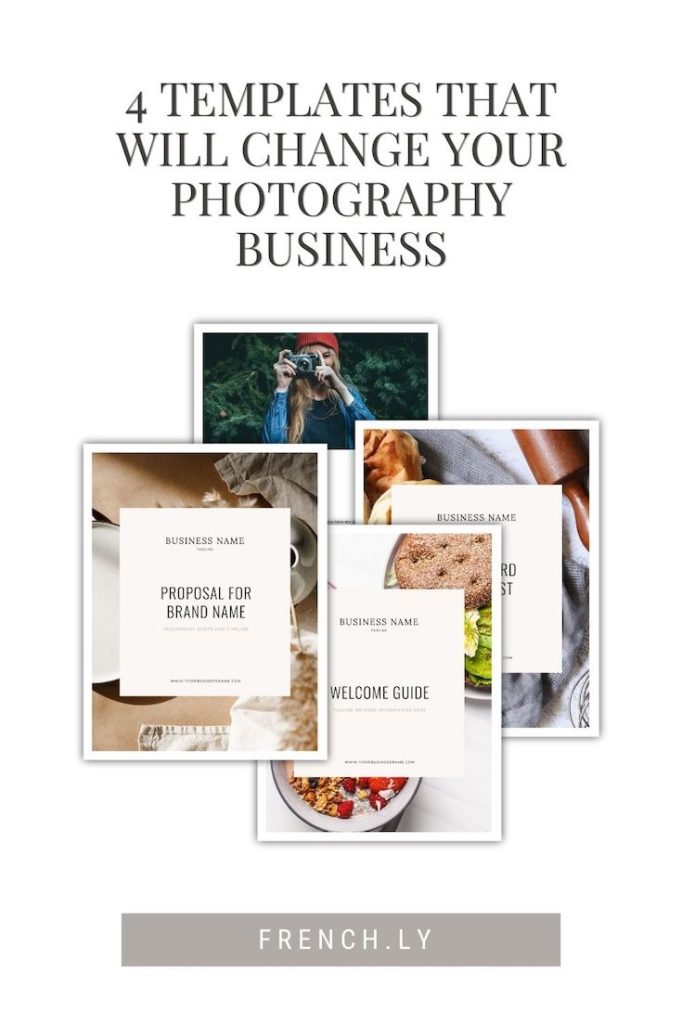
Let me walk you through the four templates I use in my photography business and that turned it all around for me.
Client templates: Emails
When they think about email templates, people immediately imagine blah emails like the automated ones you’d receive from an administration. That’s sooooo far from the truth. It’s actually quite the opposite. By creating email templates in advance {and once and for all}, you can spend the time to craft emails that really translate your voice, your personality, your personal touch. And because you don’t have to write them from scratch and in a hurry, you’ll avoid typos, grammatical errors, and overall poorly written emails.
On top of that, they are the easiest templates to create and put in place. With most email services, you can save templates and call on them whenever you need them. Because let me say this one more time: you do not need to write your emails from scratch every single time. You are mostly saying the same thing over and over and wasting a huge amount of time…
Having email templates allows me to reply to a client in a matter of minutes, and often time on the go, instead of postponing to when “I will be sitting at my desk” and forgetting until the next day.
You want to know the best news? You don’t even have to scrap your sent emails folder to collect your past emails and create an email bank, I did it for you! I went through almost a decade of client work and pulled all the emails from my workflows, but also all the troubleshooting emails, the replies to brands asking me to work for products, for free or for exposure… so you don’t have to. You can now get the Complete Email Vault, a collection of 88+ emails for any situation you’ll meet. So you’ll never have to start from scratch again!
Welcome / Service Guide
This is the first client template I created for my business. I send this to clients who inquire about my services. If they fill out my contact form on my website, I have an automation set up to send this out through my CRM.
The Welcome Guide is beautifully and thoughtfully designed. The purpose is to give potential clients a taste of what I can do for them and how I work. I include a lot of practical information, such as my complete process, the different services I offer and extras that come with each package (think location, models, and food stylist when necessary). You can also include information about your pricing if you wish.
This Guide has several functions. First, it acts as a qualifier: not only does it weed out clients that are not serious, or don’t understand what a photoshoot involves {aka the clients who think you “just click a button”} Secondly, it allows me to layout the process of working with me step by step. The number one thing clients used to ask me was what they needed to do next. Now they know before they even sign a contract!
Client templates: Proposals
Once I have gathered all the information relative to the client’s project and I know for sure this project is a good fit for me (and I am a good fit for the client), I put together a proposal.
My proposals include a breakdown of the fees for the projects (creative fee, usage rights, ingredients, editing, etc.) as well as a detailed timeline of the project, breaking down what happens at each step (including what I will be expecting from the client).
The secret is to create a proposal for each type of project you often work on and to customize them for each client, with the brand name, a quick brief with the details of the project, and a projected timeline.
Using this proposal template, I have often gotten the job, even though I wasn’t the cheapest photographer (I am usually not 😅), but because I was the one that looked the most professional, by a long shot.

As photographers, we are well aware of the importance of beautiful visuals. Using beautifully designed templates to explain your process and showcase your beautiful work is the best way to impress potential clients!
Onboarding Packet
My onboarding packet is for clients who have decided to work with me. Yay! It gives them a lot of the same information as my Service Guide but also dives into more practical information for the actual work in progress. For example, there are links to their contract, invoice, proof gallery, as well as a section on how-to use it, etc. Another very important part of this packet is that it sets expectations and boundaries. I include my office hours and I let the client know that I check my emails twice a day and they should expect an answer within 24 hours.
Basically, the welcome packet and proposal are about what to expect if you work with me. The onboarding packet is the “how” in that equation. It has concrete, factual information about the steps they need to take throughout our collaboration.
Mood Board + Shot List
It’s important to stay on the same page, especially with brand new clients. I use a mood board and/or a shot list to give us both a visual record of what we’ve agreed on. It’s also helpful for clients who have difficulty visualizing what they want. Sometimes they know it when they see it! And when they don’t see it, it’s best to know right away so we can make adjustments.
With photography, there are a lot of factors that can influence a client’s feelings about my work. So giving them examples helps them understand what I’m going for when I’m working with someone who isn’t super photography-literate. We use this to plan out several things:
- Color Schemes – Color psychology is incredibly important in marketing, so I make a point to understand what my clients want their clients to feel about the product. I also ask about any brand-specific colors that I need to utilize.
- Angles – Depending on the product or recipe, there will be certain ways to show it to its best advantage. I always love a good flat lay, but if I’m shooting a bottled product, for example, it’s not going to showcase the bottle if I’m only showing it from the top. The client and I add angles to the shot list that work specifically for the product in mind, as well as the brand that creates it.
- Likes and Dislikes – There doesn’t have to be a business reason for the client to just not like something. Everyone has personal preferences! Sometimes I reconfigure my original idea to match my client’s personal taste, even if it was a solid idea from a photography standpoint. Mood boards and shot lists are a great way to bring those preferences to light in the early stages of a project.
- Aspect Ratios – One of the first questions I ask is where and how the client will use their images. For social media platforms, websites, or printed media there will always be specific sizes and shapes that work best. I keep this in mind as I work so that I get a solid composition for every shot on the list!
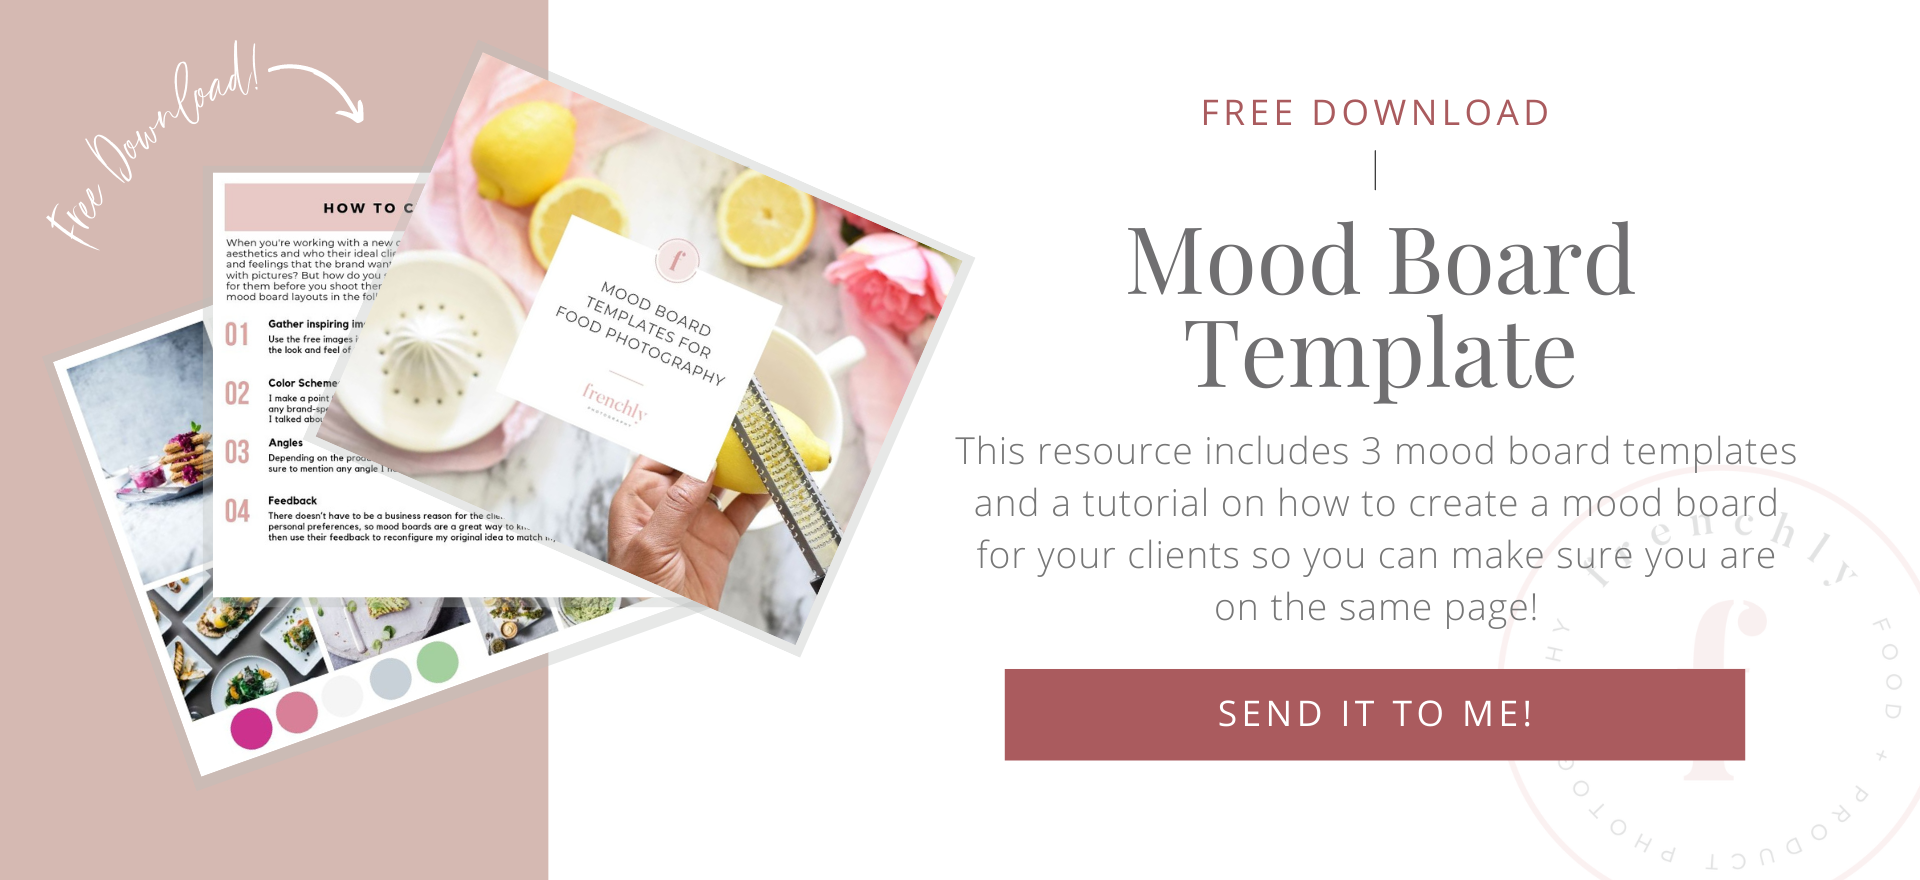
If you want to get started with client templates, a mood board is an easy one to implement and it can save you frustrating communications with the client and hours of reshooting. If you want to give it a try, I have created a template for you to download and try out. I created it on Canva, which is an online design website. Create a free account and get started immediately!
Client templates are not shortcuts — they are efficiency tools! The best way to provide your client with a five-star experience is to focus only on their specific needs. When you have a little time, create templates for the repetitive bits of work that you do for every client. You’ll have more time to devote to each project and your clients will be able to see the difference.
If you are interested in learning more about automation and the tools I use to streamline my workflows, sign up for my free 5-day automation email course! And let me know below if you have any questions about all this!
Please note – some of these are affiliate links, which means I’ll make a small portion of the profit if you purchase something, at no extra cost to you! Thanks for supporting us!

Leave a Reply Cancel reply
| Created with Showit
| Design by Oregon Lane Studio
| Privacy Policy
© 2020 Frenchly Photography
Back to Top
THE WEBSITE
THE BLOG
Helping brands and businesses promote a happy, healthy and sustainable lifestyle through stunning food and product photography


Great article! So useful!
Thank you so much Lucia! I am glad you enjoyed it!
what automation tool(s) do you use to send the welcome packet and questionnaire automatically? I have a dubsado demo this week and just downloaded Trello! Also, what tool do you use to “book a call”? I love that idea, although I’d like to send general pricing before I spend the time on a call. Is that included in your welcome packet?
Hi Rachel!
Thank you so much for your questions, I’m glad you’re looking into automating, it’ll change your business! I do use Dubsado to send the welcome packet and questionnaire. The first one is schedule to be sent about an hour after the potential client enquires and includes my prices so that it filters out the clients that are not a good fit. The welcome packet includes a link to book a call with Calendly. Dubsado actually now has a scheduler as well, I just never made the switch. If you’d like some details about my workflow, you can check out this blog: https://french.ly/automating-with-crm/ Hope it helps!
Have a great evening!