In this guide, I show you how to choose who to pitch, how to find the right contact information, and how to craft a winning pitch.
PITCHING TO BRANDS AND IS THE BEST WAY TO GET YOUR IDEAL CLIENTS, AND YOU CAN DO IT WITHOUT FEELING ICKY
Gimme the Guide!
11 FOOD PHOTOGRAPHY DOCUMENTS EXPLAINED
Top Posts
11 PLACES TO SOURCE AFFORDABLE PHOTOGRAPHY PROPS AND BACKDROPS
30+ FOOD STYLING TIPS TO ELEVATE YOUR FOOD PHOTOGRAPHY
Free Resource
About Frenchly
I am a food + product photographer & educator specializing in eco-friendly and sustainable brands. When I am not working with clients, I empower creatives to start their journey by sharing my knowledge on the business of food + product photography.
Food Photography: My Step by Step Process
January 1, 2020
Please note – some of these are affiliate links, which means I’ll make a small portion of the profit if you purchase something, at no extra cost to you! Thanks for supporting us!
Starting a food photography business is one of the best decisions I ever made. I love what I do, and I love helping others who share my passion discover their inner entrepreneur.
But I wasn’t born knowing the right flow to get me from onboarding a client to delivering perfect images. It took time {and more than a few mistakes} to find the system that works best for me. Now, my food photography business is — for the most part — a well-oiled machine. Today, I’m going to share how it works with you, step by step. Hopefully you won’t need as much time {or as many goofs} as I did to find your food photography rhythm!
Step 1: Get the Admin Stuff Out of the Way
When I’m pre-qualifying a client, I send them a questionnaire or talk to them on the phone. This was intimidating at first, but I found it’s truly the best way to understand what’s important to my client. It also builds trust and a unique client experience. The client sees me as a creative person, not just a line of text in their inbox! At this stage, we discuss important details about their project. (Number of images, usage, creative requests, and so on.) I make sure to ask about the target audience and brand values, colors, and fonts. Some clients have a brand book with all of this info ready to go. That always makes my job a little easier!
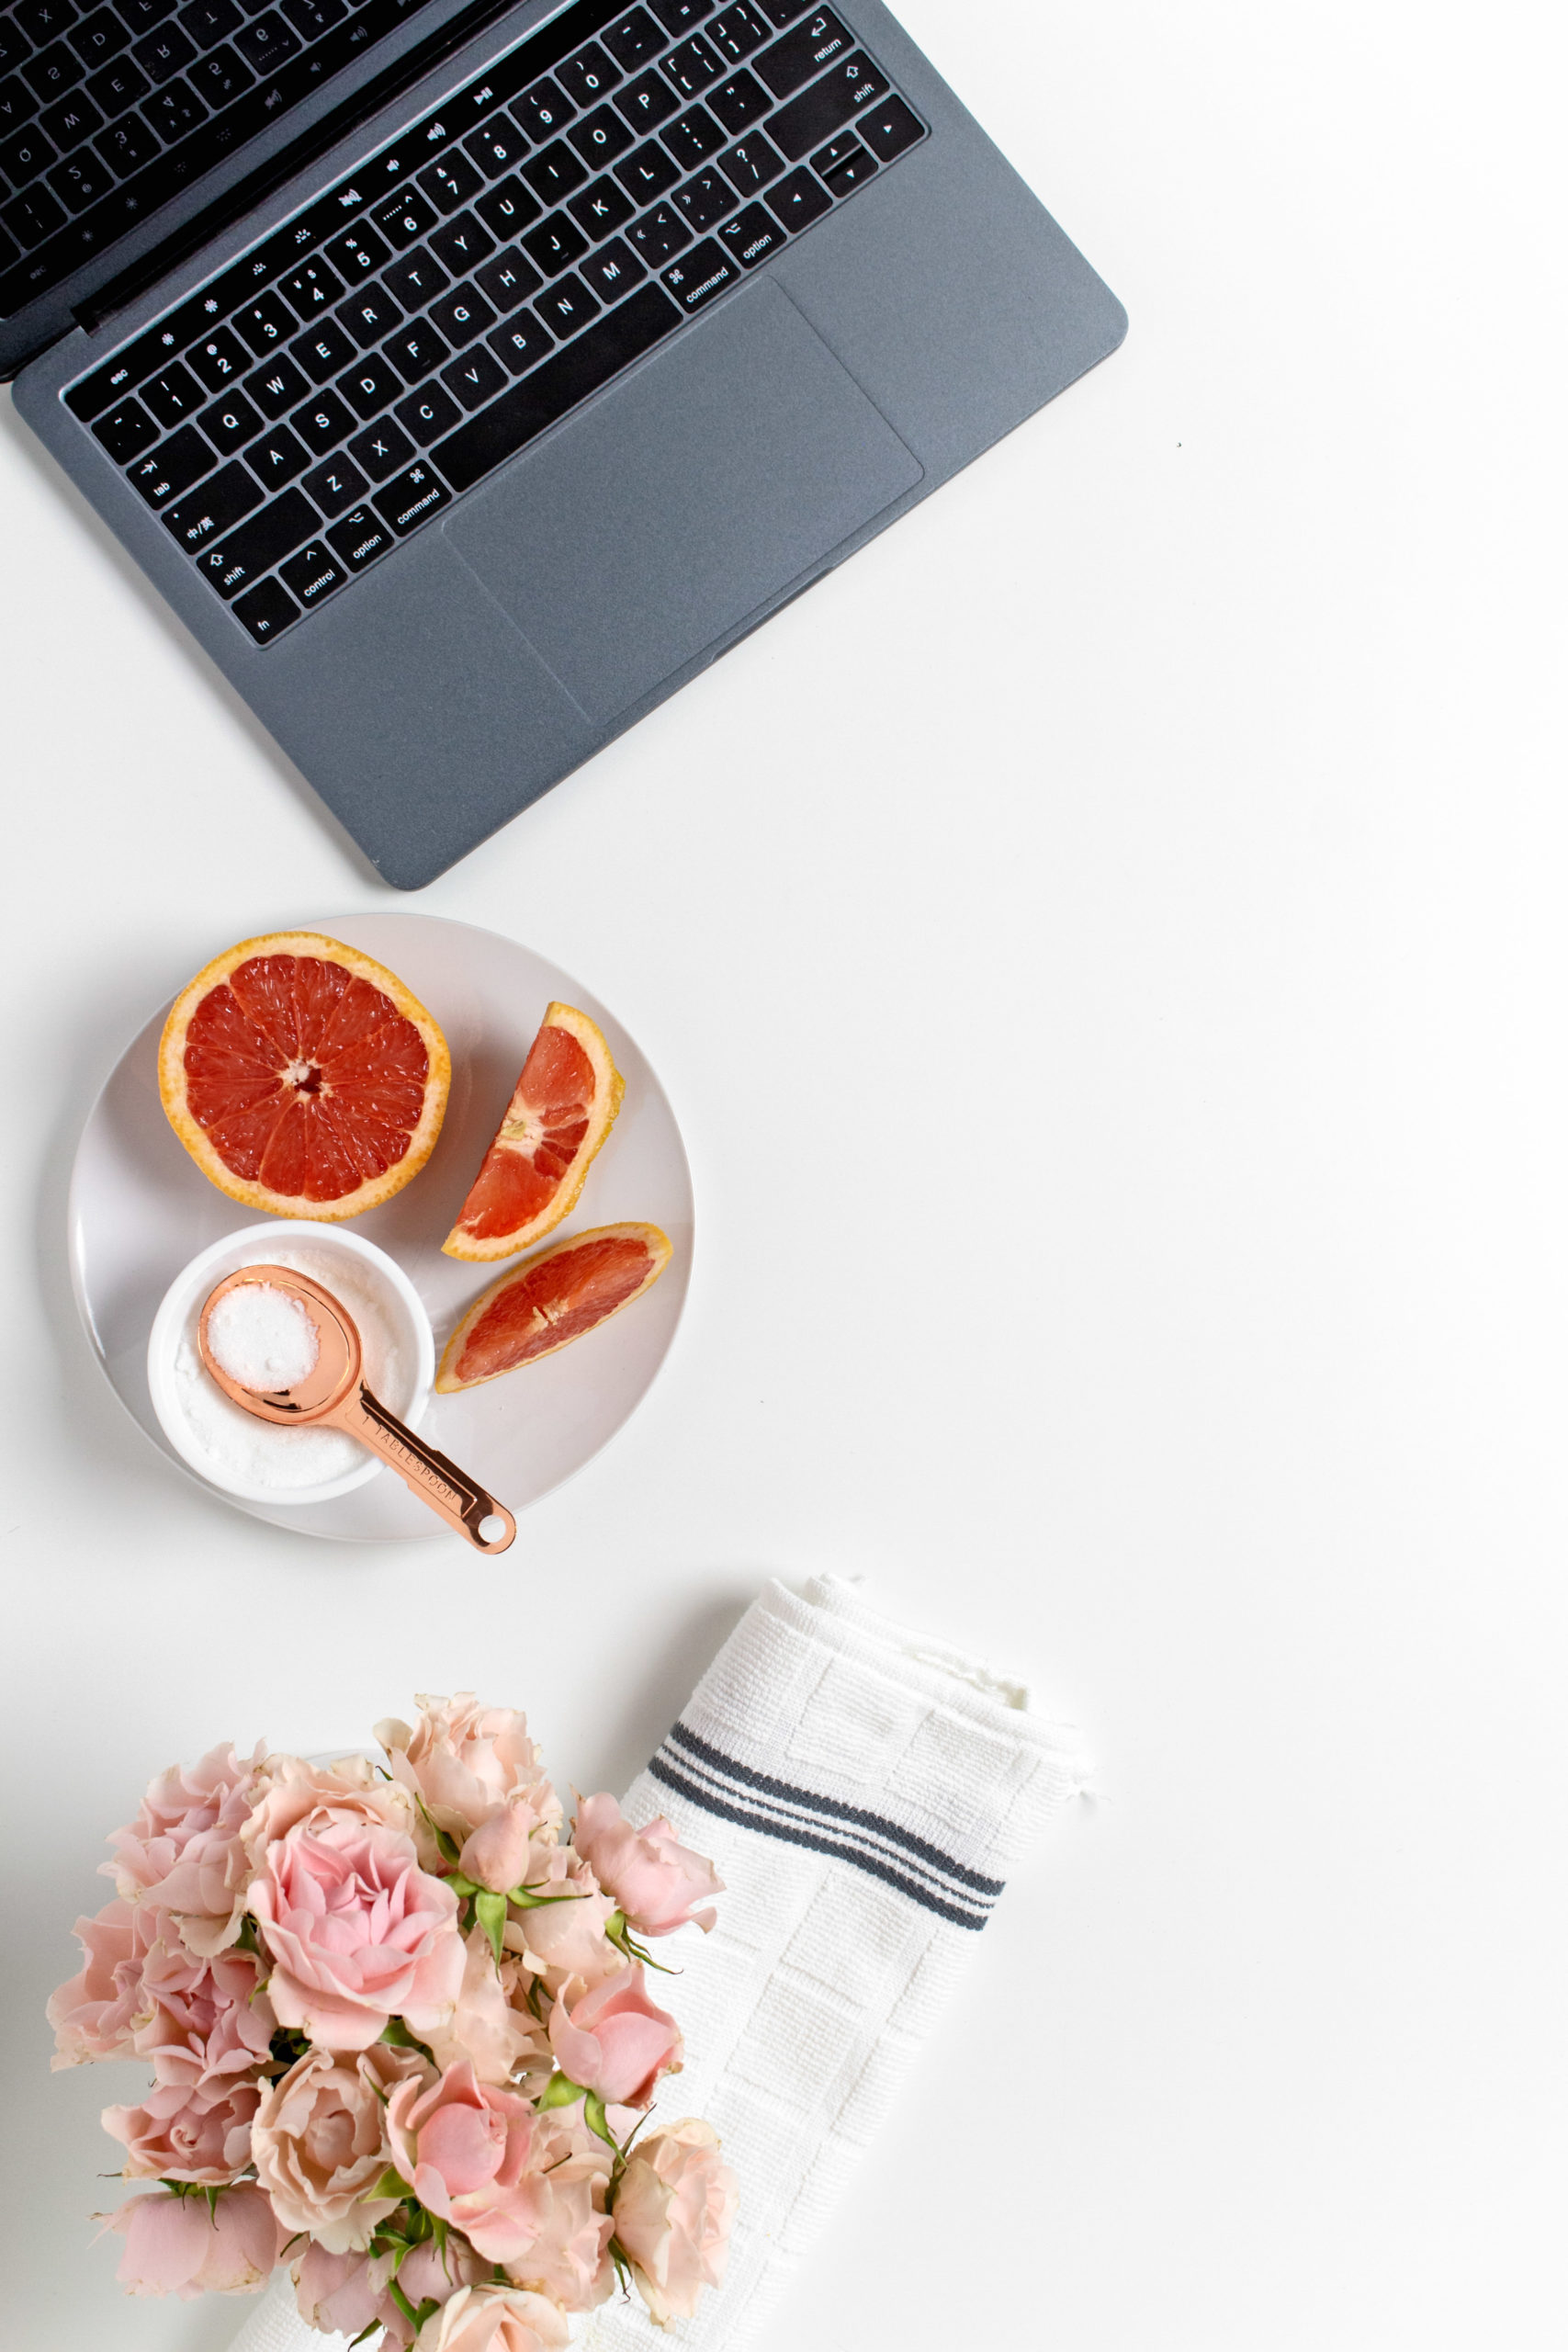
Learning about your client’s brand before planning the shoot goes a long way! Study their brand, their mission and values and take a sneak peek at their competition too!
Next, I set up a contract and arrange for a 50% deposit. Then, I send my welcome guide that details my process, work hours, etc. This helps to set expectations for the client right away.
Step 2: Make Sure You Are on the Same Page
Now it’s research time! I look at their competitors to see what type of image is popular with the target audience. I take note of what is generating engagement on social media and look for ways to put my own spin on it.
Once I have a solid idea of where I’d like to go with the project, I work up a mood board. This is how I visually communicate my ideas to the client. My idea of “young and fresh”, for example, might greatly differ from theirs! That’s why I never skip this step: it ensures that we are talking about the same thing. (Want to start using mood boards in your food photography business? Try my free mood board template!)
Knowing how many images you need to shoot is essential, but knowing exactly which images the client needs (and in which format) is imperative to avoid wasting time with unnecessary reshoots. I use a shot list to confirm that I get everything my client needs.
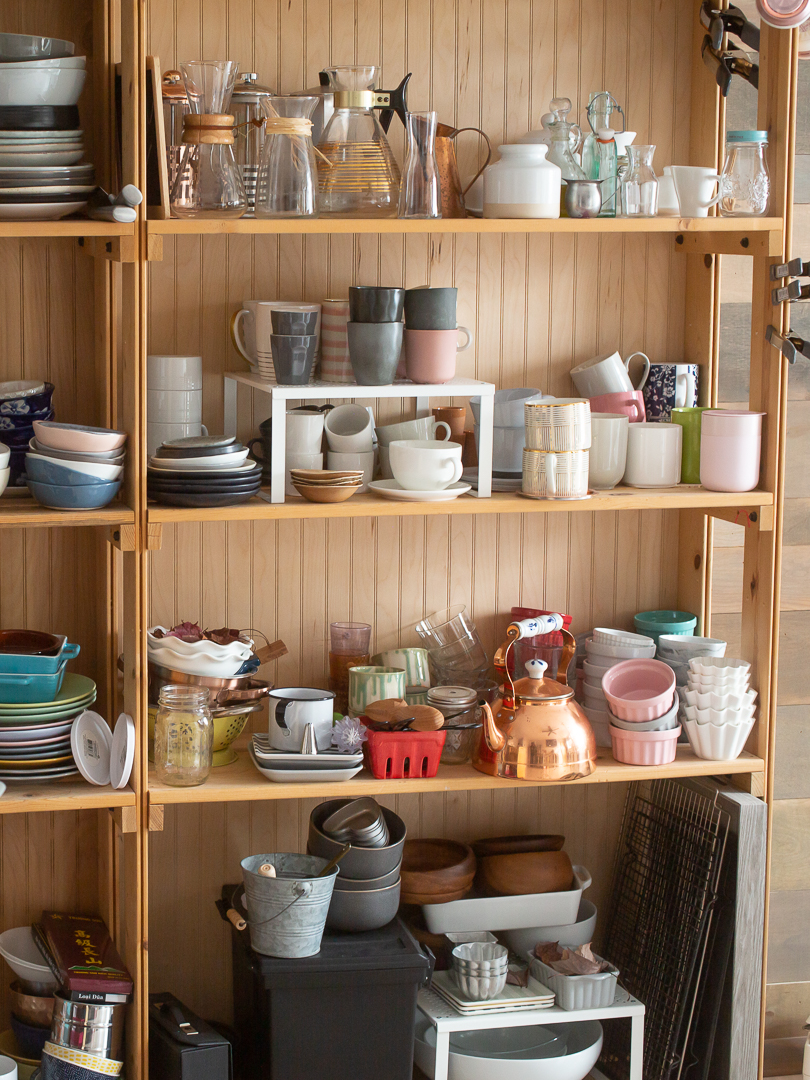
I have a lot of props but some shoots need extra special props
Step 3: Do Some Pre-Shoot Planning
I plan the props and background I will be using depending on the mood we discussed. That allows me to plan for prop shopping in advance so I can accommodate it in my schedule. I also like to sketch the shots I am planning in my head. On shoot day, things can get crazy and I don’t want to forget a shot I had thought would look great.
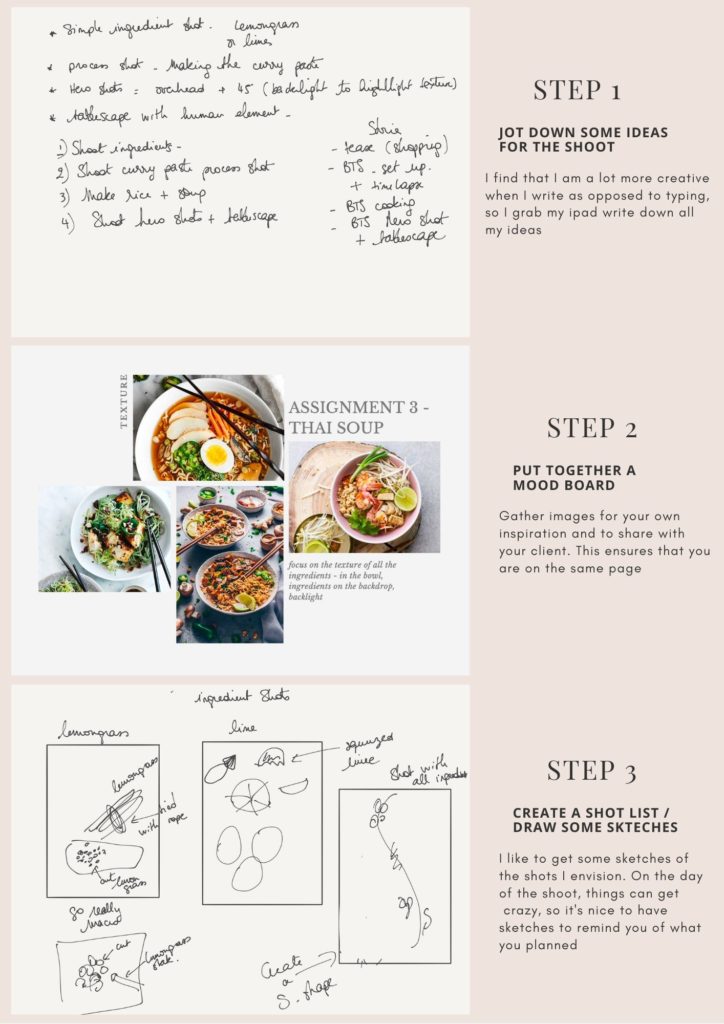
When I’m ready, I go prop and grocery shopping. Since I’ve planned ahead, I’m able to budget for additional ingredients like garnishes. They’re not always part of the recipe, but I can often tell when I’m sketching whether or not I’ll need a little something extra.
Step 4: Run the Food Photography Shoot
Shoot day still gives me the jitters, even though I usually have at least one or two of them each week. There’s so much possibility! I’m finally getting to put into action all the ideas I’ve been working toward and sketching. But I still try to stick to my process to avoid making rookie mistakes:
- Set up my scene (without the food). Up goes the backdrop and out come the plates, bowls, silverware, linen, etc.
- Arrange my lighting setup if I’m working with artificial light.
- Position the camera and light modifiers (diffusers, bounce cards, black cards, etc).
- Set up tethered capture/live view and an auto import workflow.
- Set up the metadata so my images have my copyright info and the right keywords.
- Take a few test shots without food or with stand-in food (so nothing wilts, melts, or runs).
- Cook the recipe (when needed).
- Style the food and shoot. Woohoo!
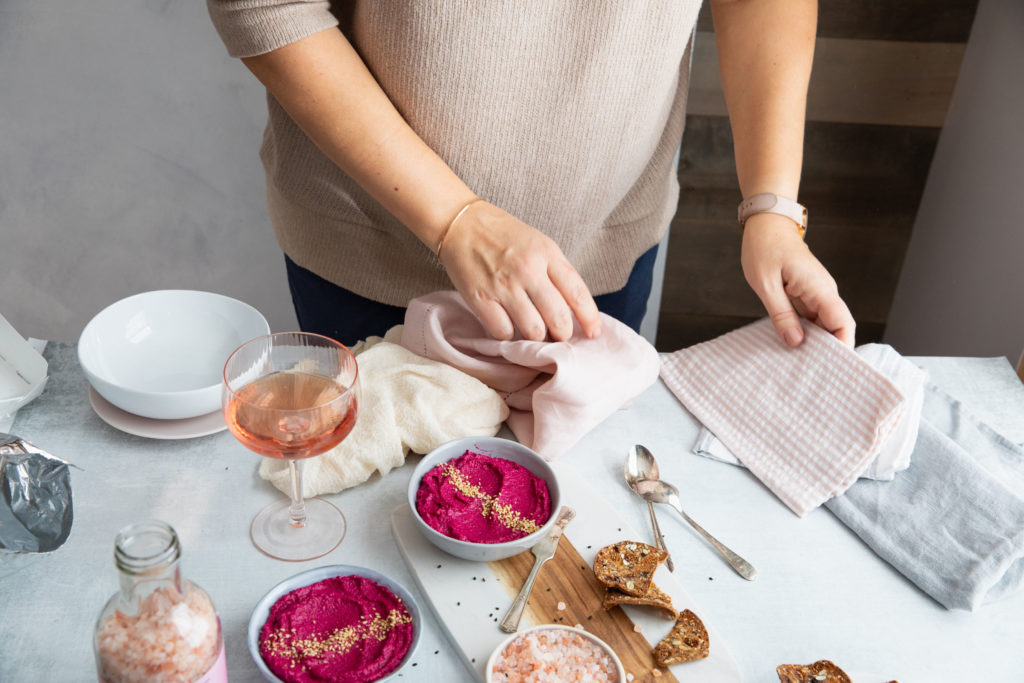
I like to plan my shoots beforehand. That way on shoot day, I only have to worry about styling and shooting
Shooting tethered is a game-changer for me, and it dramatically cut down on the number of reshoots I had to do. If it is something you’d like to try (and I really recommend that you do), check out this video by the amazing Joanie Simon of The Bite Shot to help you get started:
Step 5: Post-Process Those Beautiful Images
Even though I shoot tethered with live view, once I sit down and really look through a shoot there’s always culling to do. I look through carefully to see which images support my client’s message and needs best, rather than just what looks prettiest to me.
Sometimes I’ll create some Lightroom presets for my project as I go, so I’m not making the same exact changes over and over again. Other times I’ll take it photo by photo; it really depends on the shoot. Thanks to Lightroom Magic by Two Loves Studio, I’m now a very confident Lightroom editor and this step goes relatively quickly either way.
I love the Pixieset plugin because I can create a new set right there in Lightroom and publish the edited images directly from the software. It saves me time over exporting and then uploading to Pixieset, and it also saves space on my hard drive.
If it’s a personal project, I export my favorite images to a special folder on my hard drive for later use in my portfolio or to use on Instagram.
Step 6: Deliver Your Food Photography images to the Client
I used to email my clients a link to the proofs and the client would have to email me back with the file numbers. It was not ideal. Pixieset freed me from that mess!
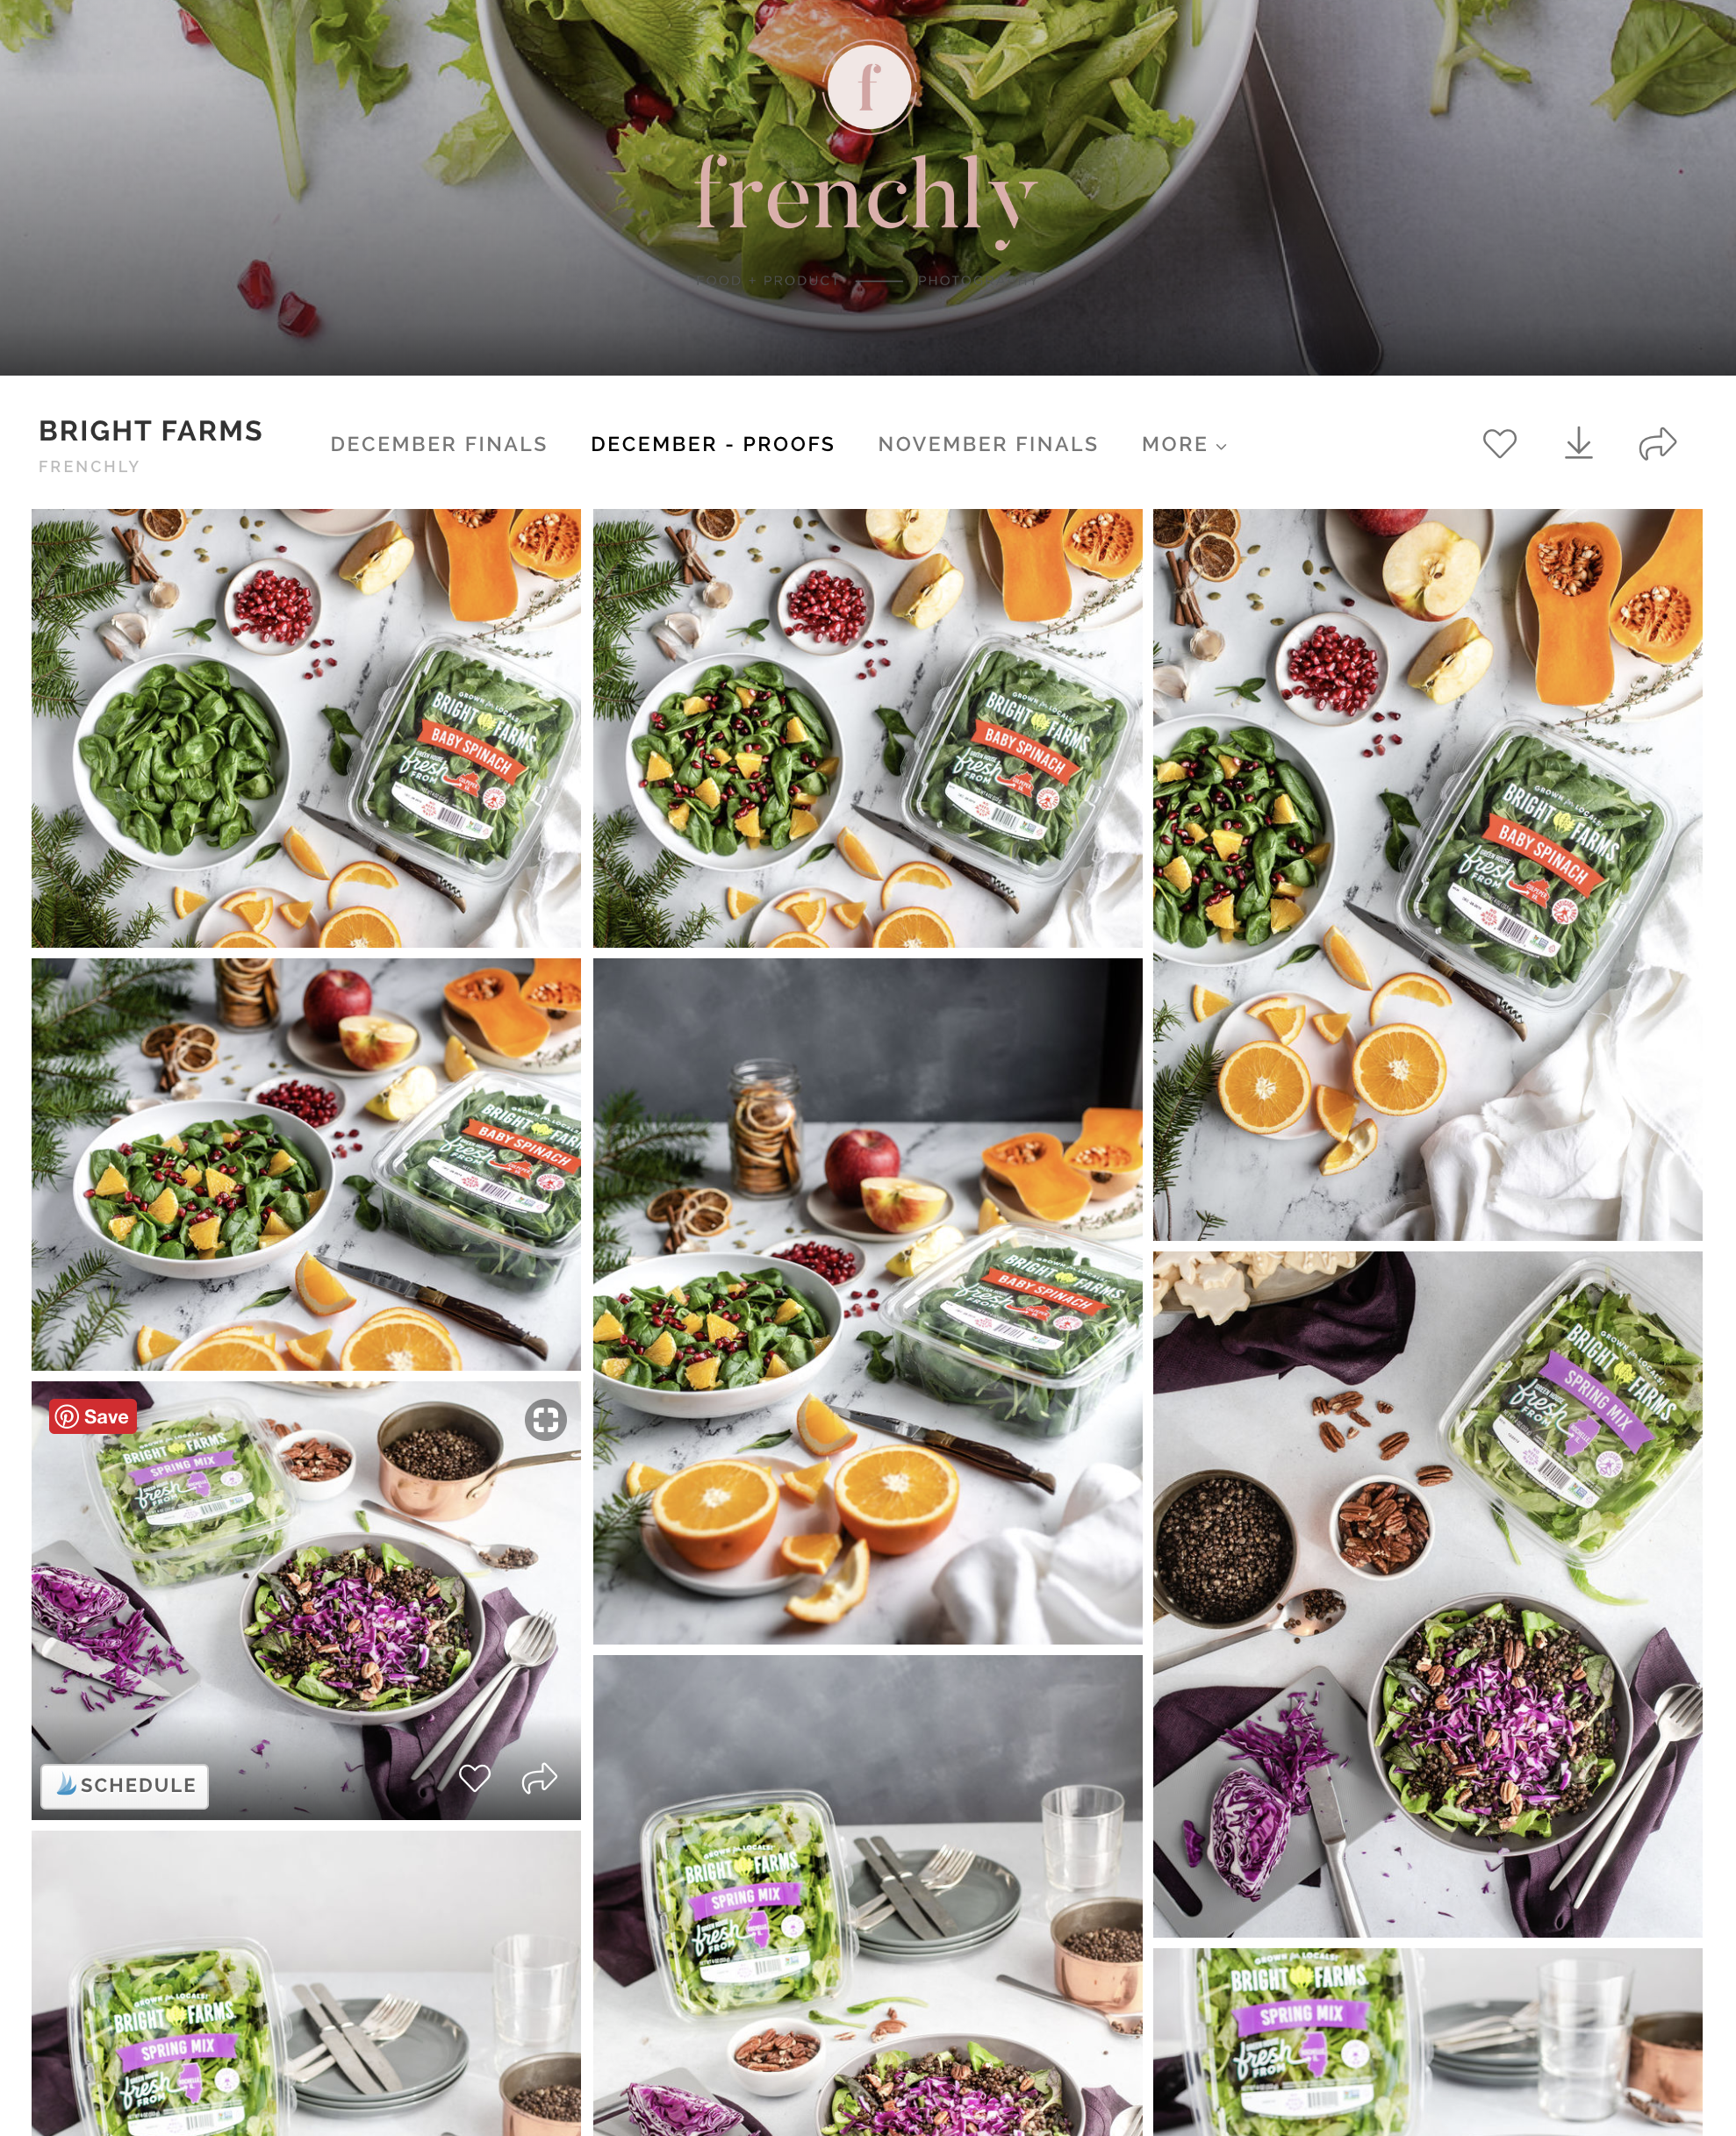
I love the convenience of Pixieset, but I also love the look of it! It’s a great way to present my images to my clients and the final touch to an exceptional client experience!
Now delivery is probably the simplest step in my workflow. I send one Pixieset link to the client so they can choose their favorite images. I always show them more photos than we agreed on so they can make their own selections. Once I know which images the client wants, I create a new folder in Pixieset with the final images.
After that, I send the final invoice via Dubsado, my incredible photography business CRM. Once I’ve received the final payment, my client gets a link and download PIN for the final images. 2 weeks later, I send an email to the client to make sure there were no issues with the files and to thank them for working with me.
Now you’ve seen step by step how I conduct my food photography shoots. Not so intimidating after all, right? Although you may need to change a few things here and there, this general structure should help you get through a food photography shoot without the headache of making it all up as you go. To get more food photography and business tips, sign up for my email list. Don’t forget to hit reply and let me know how it’s working out for you!
Leave a Reply Cancel reply
| Created with Showit
| Design by Oregon Lane Studio
| Privacy Policy
© 2020 Frenchly Photography
Back to Top
THE WEBSITE
THE BLOG
Helping brands and businesses promote a happy, healthy and sustainable lifestyle through stunning food and product photography
Hello Fanette,
Thanks for the detailed explanation of your step by step process, it really helps the beginners like me. I have a query here, in the step-4 , you have mentioned, updating the metadata with our names and right keywords . Can you tell me is that mandatory to add those information for the images we shoot for our clients ? How the keywords helps?
Hi Abi!
I am glad you found this post helpful. Thanks a lot for your question, it is a great point. I add metadata to all my images. Wherever they end up, the metadata follows them so it’s like a stamp that identifies the images as yours. The keywords are not necessary but I find them very useful to help locate a particular image in a large catalog.
I hope this helps! Have a wonderful day 🙂
Thank you for sharing these steps! I think they will be very helpful to me as I explore the food photography career path. I look forward to more tips. Do you offer food photography lessons?
Hi Takera!
Thank you so much for your message! I am so glad you found the blog helpful! I’m afraid I don’t really offer food photography lessons. I really prefer to stick to workflows, systems and automation 🙂 I do have a post where I share my favorite resources though: https://french.ly/my-favorite-online-food-photography-classes/. Hope this helps!
Thank you, Fanette, for your always helpful posts. What size (and res, while I’m asking) do you export for proofing, for final? (I may learn this in your next post on Lightroom workflow.) Is this part of the pre-shoot discussion with the client?
Hi Tari! Thank you so much for your comment. I am so glad that this was helpful! I actually don’t export proofs anymore, I use the Pixieset plugin to send the proofs directly to my galleries. I have it set up to send those at full size full res (I have a ton of storage on Pixieset), but you can choose the size you want. If you are limited on space, I would say that 2000px and 72 dpi are enough for a proof. You can also lower the quality to 90 or 95%, which considerably lowers the files size. Hope this helps, let me know if you have other questions!