In this guide, I show you how to choose who to pitch, how to find the right contact information, and how to craft a winning pitch.
PITCHING TO BRANDS AND IS THE BEST WAY TO GET YOUR IDEAL CLIENTS, AND YOU CAN DO IT WITHOUT FEELING ICKY
Gimme the Guide!
11 FOOD PHOTOGRAPHY DOCUMENTS EXPLAINED
Top Posts
11 PLACES TO SOURCE AFFORDABLE PHOTOGRAPHY PROPS AND BACKDROPS
30+ FOOD STYLING TIPS TO ELEVATE YOUR FOOD PHOTOGRAPHY
Free Resource
About Frenchly
I am a food + product photographer & educator specializing in eco-friendly and sustainable brands. When I am not working with clients, I empower creatives to start their journey by sharing my knowledge on the business of food + product photography.
11 Food Photography Documents Explained
March 31, 2021
Please note – some of these are affiliate links, which means I’ll make a small portion of the profit if you purchase something, at no extra cost to you! Thanks for supporting us!
Have you ever heard words like media kit, brief, and treatment as a photography business owner…and realized you had no clue what they were???
These are actually just three of many different documents you may use in a food photography business. These days, they will often {nearly always, in my case} be digital documents, but their purposes remain the same. Today we’ll go over how to use eleven different types of food photography documents—and why they are important. You’ll come out of this one feeling more like a pro than ever!
Let’s get started with one I get asked about a lot: the media kit.
Media Kit
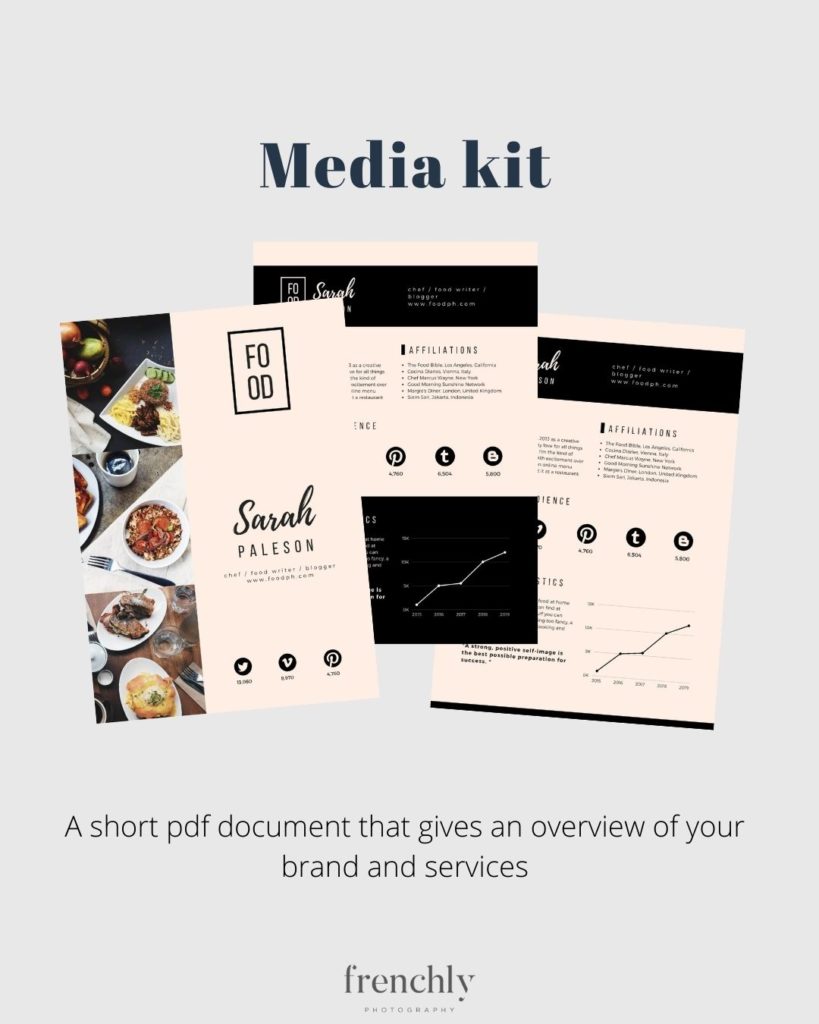
A media kit is a public relations document you will share with potential clients (mostly for sponsored work). The purpose of this short pdf document – 1 to 3 pages max – is to give an overview of your brand and services. It is often used by bloggers and influencers and may include information like:
- The type of content they create
- Details about their audience
- Analytics from their social media engagement
- Snippets of their past press coverage or clients they have worked with.
- Information about the “look” and “feel” of the brand, your values, etc.
If you are hoping to work as an influencer in the food photography industry, it may be helpful to put your own media kit together. Be sure to include information about your rates to nip any offers in the bud that may expect you to work for free as a food photographer.
You can create one in a few minutes using one of the many free templates available on Canva.
Welcome Guide
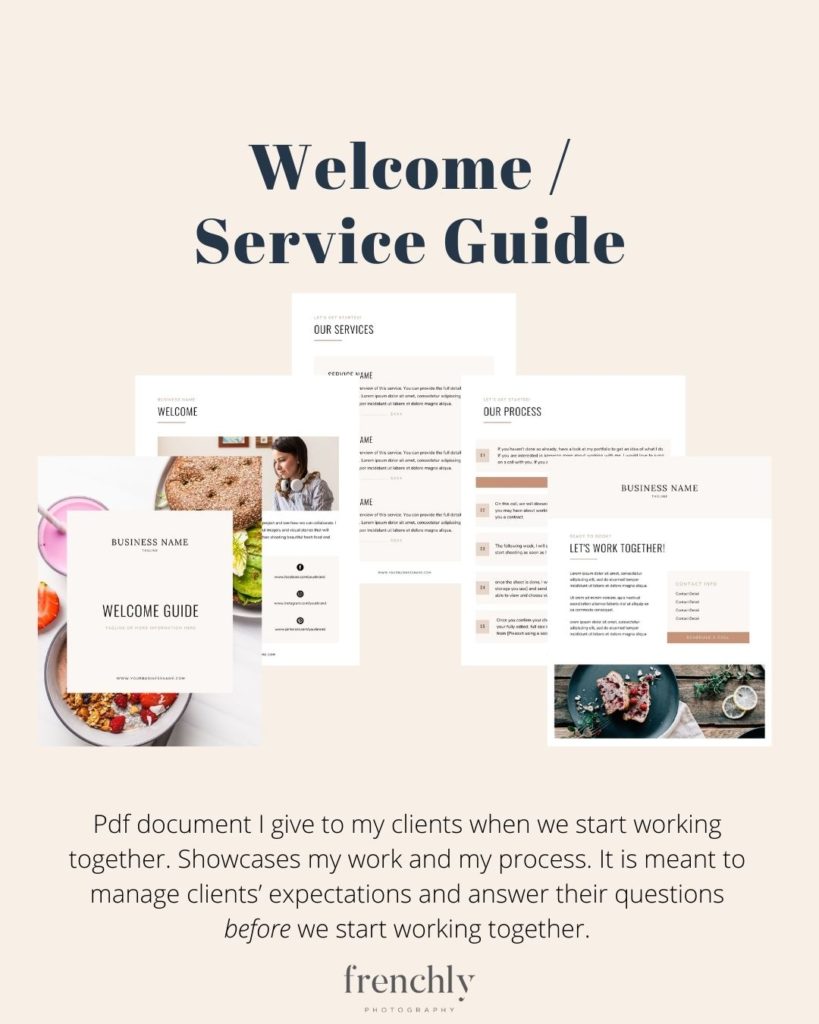
I do not personally use a media kit because I have a very extensive welcome guide that I give to my clients when we start working together. This goes a little more in-depth about the work I do and my process, and it is meant to manage clients’ expectations and answer their questions before we start working together. I find that being up front in this way leads to a smoother collaboration altogether {and saves time for everybody involved}.
I send this out to potential clients who want to know more about working with Frenchly. {Sometimes I will connect with a client in a way that does not make sense to use a welcome guide, but in those cases I will usually send a very similar onboarding guide when they sign on with me.} It shows them:
- What it’s like to work with me
- The type of photography I do
- Services I am available for
- Some starting price points
It really cuts down on miscommunication and starts us out on the right foot!
Questionnaire
One of the benefits of sending a welcome guide, is that it weeds out clients who do not have the budget for my services. Once we’ve established that they do, and the client is interested in working with me, I will send them a questionnaire. This helps us both prepare for the discovery call, where we will go over the scope and needs of the project and get a feel for each other.
This can be as simple as a one-page PDF or you can have them fill out an online form. I have my questionnaire linked to Honeybook, my amazing CRM, so that all their responses are visible right next to any other info I have about the brand. This makes it super easy to refer back to throughout the project.
Proposal + Quote
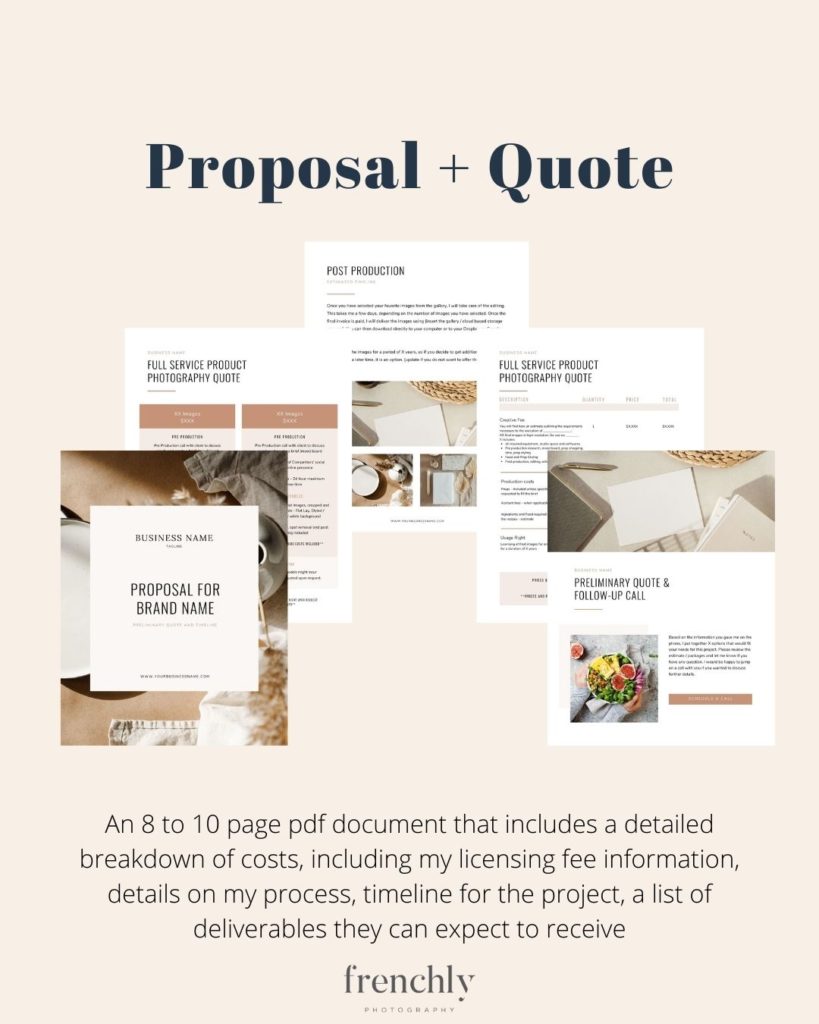
After the discovery call, I like to really drive home the value I can offer with a beautifully designed proposal and quote. I created a template for this in Canva {it was quick, easy, and takes almost no time to update} and I just add or remove information as needed for each client. This document is sent out in PDF form and is usually about ten to twelve pages long. It includes:
- A detailed breakdown of costs, including my licensing fee information
- A refresher on my process
- A tentative timeline for the project
- A list of deliverables they can expect to receive
Having a professional-looking, detailed proposal is an easy way to seal the deal after a discovery call! If you want to swipe my personal template {along with some instructional videos and bonus templates for onboarding} check out my new Client Proposal Toolkit—it’s got everything you will need and is completely customizable to fit your brand!
Brief
If you have mostly worked on smaller projects with newer brands at this point, you may not have used a brief as one of your food photography documents yet. You’ll find that briefs are often used by bigger clients and agencies who have worked with high-level photographers before and have a strong idea of what they want.
When a client gives you a brief, it will usually include information about where and how they plan to use the images and other specifics like aspect ratios needed. You’ll sometimes see examples and inspiration included, as well.
A lot of clients don’t even know to send a brief, which is completely fine. In these cases, it would only add stress to the client to first explain what a brief even is, and then ask them to put one together for the very first time. That’s where the mood board and shot list come in, but we’ll get to those in a moment.
Treatment
Similar to a brief, but prepared by the photographer, is a treatment. This is a document you will likely only need if you’re working with a bigger crew. It is prepared alongside the estimate and the purpose is to further explain the vision of the photographer. It allows the brand to make sure the photographer understood the creative direction for the shoot and to choose the photographer who will be awarded the project.
This doc can be anywhere from five to twenty pages, and may cover things like:
- The overall vision of the project
- Details like the lighting setup and styling
- Example images from other campaigns
- The general mood of the shoot, the colors, and types of props to be used
You may be asked to put together a treatment if you’re part of a large campaign. If you are represented by an agency, they may help you put one together.
Call Sheet
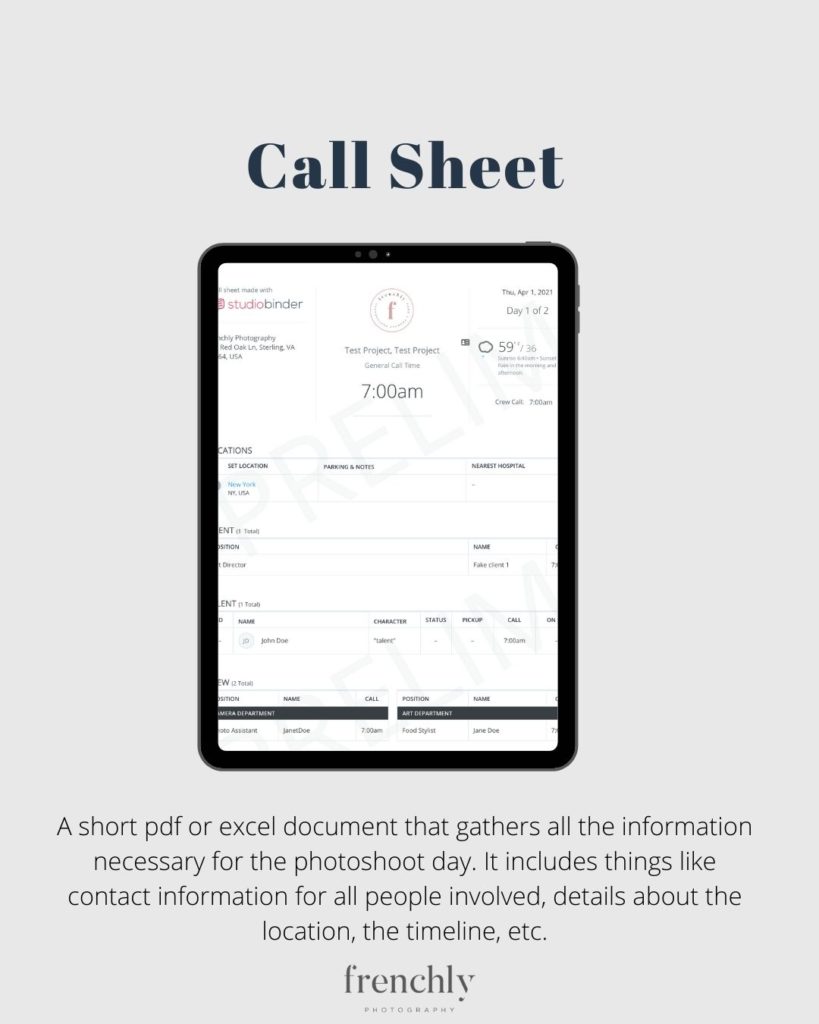
A call sheet is a document that gathers all the information necessary for you, the client, and the team for the photoshoot day. It includes things like contact information for all people involved, details about the location, the timeline, etc.
This document is extremely important when coordinating a large team and allows to make sure that everyone has the proper information. Even if you are working on smaller projects, it can be a good idea to prepare a call sheet if you work on location. Besides making sure that everybody is clear on all the details, it also creates a fantastic client experience that will make clients remember how easy it was to work with you. It doesn’t take long to put together, especially if you have a template for it!
Contract
This is probably the most important document on the list, because it’s the only one that is legally binding! A good contract will save you a lot of headaches, so make sure you use use a strong one that has been drafted by someone with actual legal experience. I worked with an intellectual property lawyer to combine her legal knowledge and my years of experience and together we created a photography contract template specially designed for food and product photographers. It addresses all the specific needs of our niche, all the regular clauses of a regular photography contract as well as all the necessary legal mumble jumble. The best part? It includes a complete walk-through that translates all the legalese into plain English 🙂
Besides the fact that a contract will protect you (and your client), it also allows you to lay out all the details of the photoshoot, leaving no room for misunderstanding or confusion! All the specifics about the shoot, scope of work, number of images, licensing fees, usage rights, etc. are there for your reference, in black and white. And yes, you do need a contract for every project {even the one with your best friend, or that local brand that is paying you in food}!
Mood Board + Shot List
The last document I prepare for the client before I start shooting is a mood board. The mood board and shot list are basically one big brief that I create for the client, based on our discovery call and questionnaire. The mood board is a visual representation of my vision for their project, while the shot list details all the shots, angles, aspect ratios, etc. you will need.
I send these after the client has signed the contract and paid the initial invoice. That’s right, I always ask for a deposit! I never begin work until I have a signed contract and a deposit. Until those things are taken care of, I have no real guarantee that the client will move forward.
Psst—I have a free Mood Board and Shot list template if you want to get started…just saying.
Do you use these food photography documents in your business? Are you excited to start now that you finally understand what they are? Comment below to let me know what you thought of this blog post {and please tell me if there are any other documents you would like me to cover here, on Instagram, or in my email newsletter}.
Leave a Reply Cancel reply
| Created with Showit
| Design by Oregon Lane Studio
| Privacy Policy
© 2020 Frenchly Photography
Back to Top
THE WEBSITE
THE BLOG
Helping brands and businesses promote a happy, healthy and sustainable lifestyle through stunning food and product photography
Hi Fanette.
Your blog posts are always so helpful…thank you for the content!
I was wondering if you could advise what the key documentation is for someone starting out i.e. doesn’t have any clients yet, but about to go live on a website and start reaching out to brands.
Any advice would be greatly appreciated.
Hi Kristy!
Thank you for your question, and I apologize for the delay in answering, I totally missed the notification!
I think the main thing you need to have is a portfolio to send potential clients to. Having a service or welcome guide pointing to your portfolio could be really helpful, so that clients that are interested can learn more about you offer. Finally, I think it is important to have a proposal ready for when the client is ready to talk about a specific project, so you can continue to deliver a really good client experience.
I hope this helps, let me know if you have any questions!
I wanted to take a moment to express my heartfelt appreciation for your outstanding work in crafting “11 FOOD PHOTOGRAPHY DOCUMENTS EXPLAINED.” Your ability to demystify the intricacies of food photography through this comprehensive guide is truly commendable.
Your meticulous attention to detail and insightful explanations have transformed what could be a complex subject into an accessible and enjoyable learning experience. The way you break down each aspect of food photography documents reflects not only your expertise in the field but also your dedication to helping others navigate this fascinating realm.
The clarity with which you elucidate concepts, accompanied by practical examples, has made a significant impact on both novice and seasoned photographers alike. Your document serves as a valuable resource, providing a wealth of knowledge that undoubtedly contributes to the growth and skill development of aspiring food photographers.
Thank you for your commitment to sharing your expertise and making the art of food photography more approachable for enthusiasts at all levels. Your passion for the craft shines through in every word, and it’s truly inspiring.
I eagerly look forward to more of your insightful contributions to the field. Keep up the excellent work!
Warm regards,
https://fixitallsecure.com/split-ac-not-cooling-but-fan-is-running/